How to Replace a Toilet Step by Step
Replacing a toilet may sound like a big job, but with the right tools, knowledge, and help, it’s a task that can be managed either by a confident DIYer or a licensed plumber. Whether you’re dealing with leaks, cracks, or simply upgrading during a bathroom renovation, understanding the process and costs will help you make the right decision.
There are many reasons why you may want to remove and install a new toilet in your bathroom. These can range from changing it for aesthetic purposes, your current toilet is leaking or is cracked or you’re moving into a new home and need to upgrade the bathrooms.
The list is almost endless. In this blog post, we’ll discuss how to remove a toilet. We’ll explain the process of replacing a traditional two-piece toilet and a one-piece toilet system.
Can You Replace a Toilet Easily?
Toilet replacement is a straightforward job for professionals, but for homeowners, it can be moderately challenging. The process involves removing the old toilet, disconnecting the water supply, replacing or reseating the wax ring, and installing the new unit securely.
If the flooring, flange, or plumbing connections need repair, the task becomes more complex. In those cases, hiring a qualified plumber is strongly recommended.
Does a New Toilet Come with a Wax Ring?
Most new toilets do not come with a wax ring included. This essential part creates a watertight seal between the toilet base and the flange on the floor. Some modern kits include a wax ring or foam gasket, but often it must be purchased separately.
Always check the product description before buying a toilet. It’s good practice to replace the wax ring any time a toilet is removed or replaced.
Tools and Materials You May Need
As with any DIY task, you need to be prepared beforehand. Therefore, you must ensure you’ve got the right equipment and materials ready for the job at hand. Let’s take a look at what you’ll need to get the task sorted in no time.
Equipment:
- 4-in-1 Screwdriver
- Adjustable wrench
- Pipe wrench
- Caulk gun
- Box spanner
- Cordless drill
- Hacksaw or pipe cutter
- Hammer
- Spirit level
- Locking pliers and/or adjustable pliers
- Rags/towels/sponges
- Rubber gloves
- Bucket
- Wet vacuum
- Slip-joint pliers
- Tape measure
- Utility knife and a putty knife
- Drill
Materials:
- New toilet
- Toilet seat
- Toilet shims
- Bolts for the toilet seat
- Wax ring that has a flange
- Wax ring that doesn’t have a flange
- Silicone caulk (optional)
- Penetrating oil
- Teflon tape
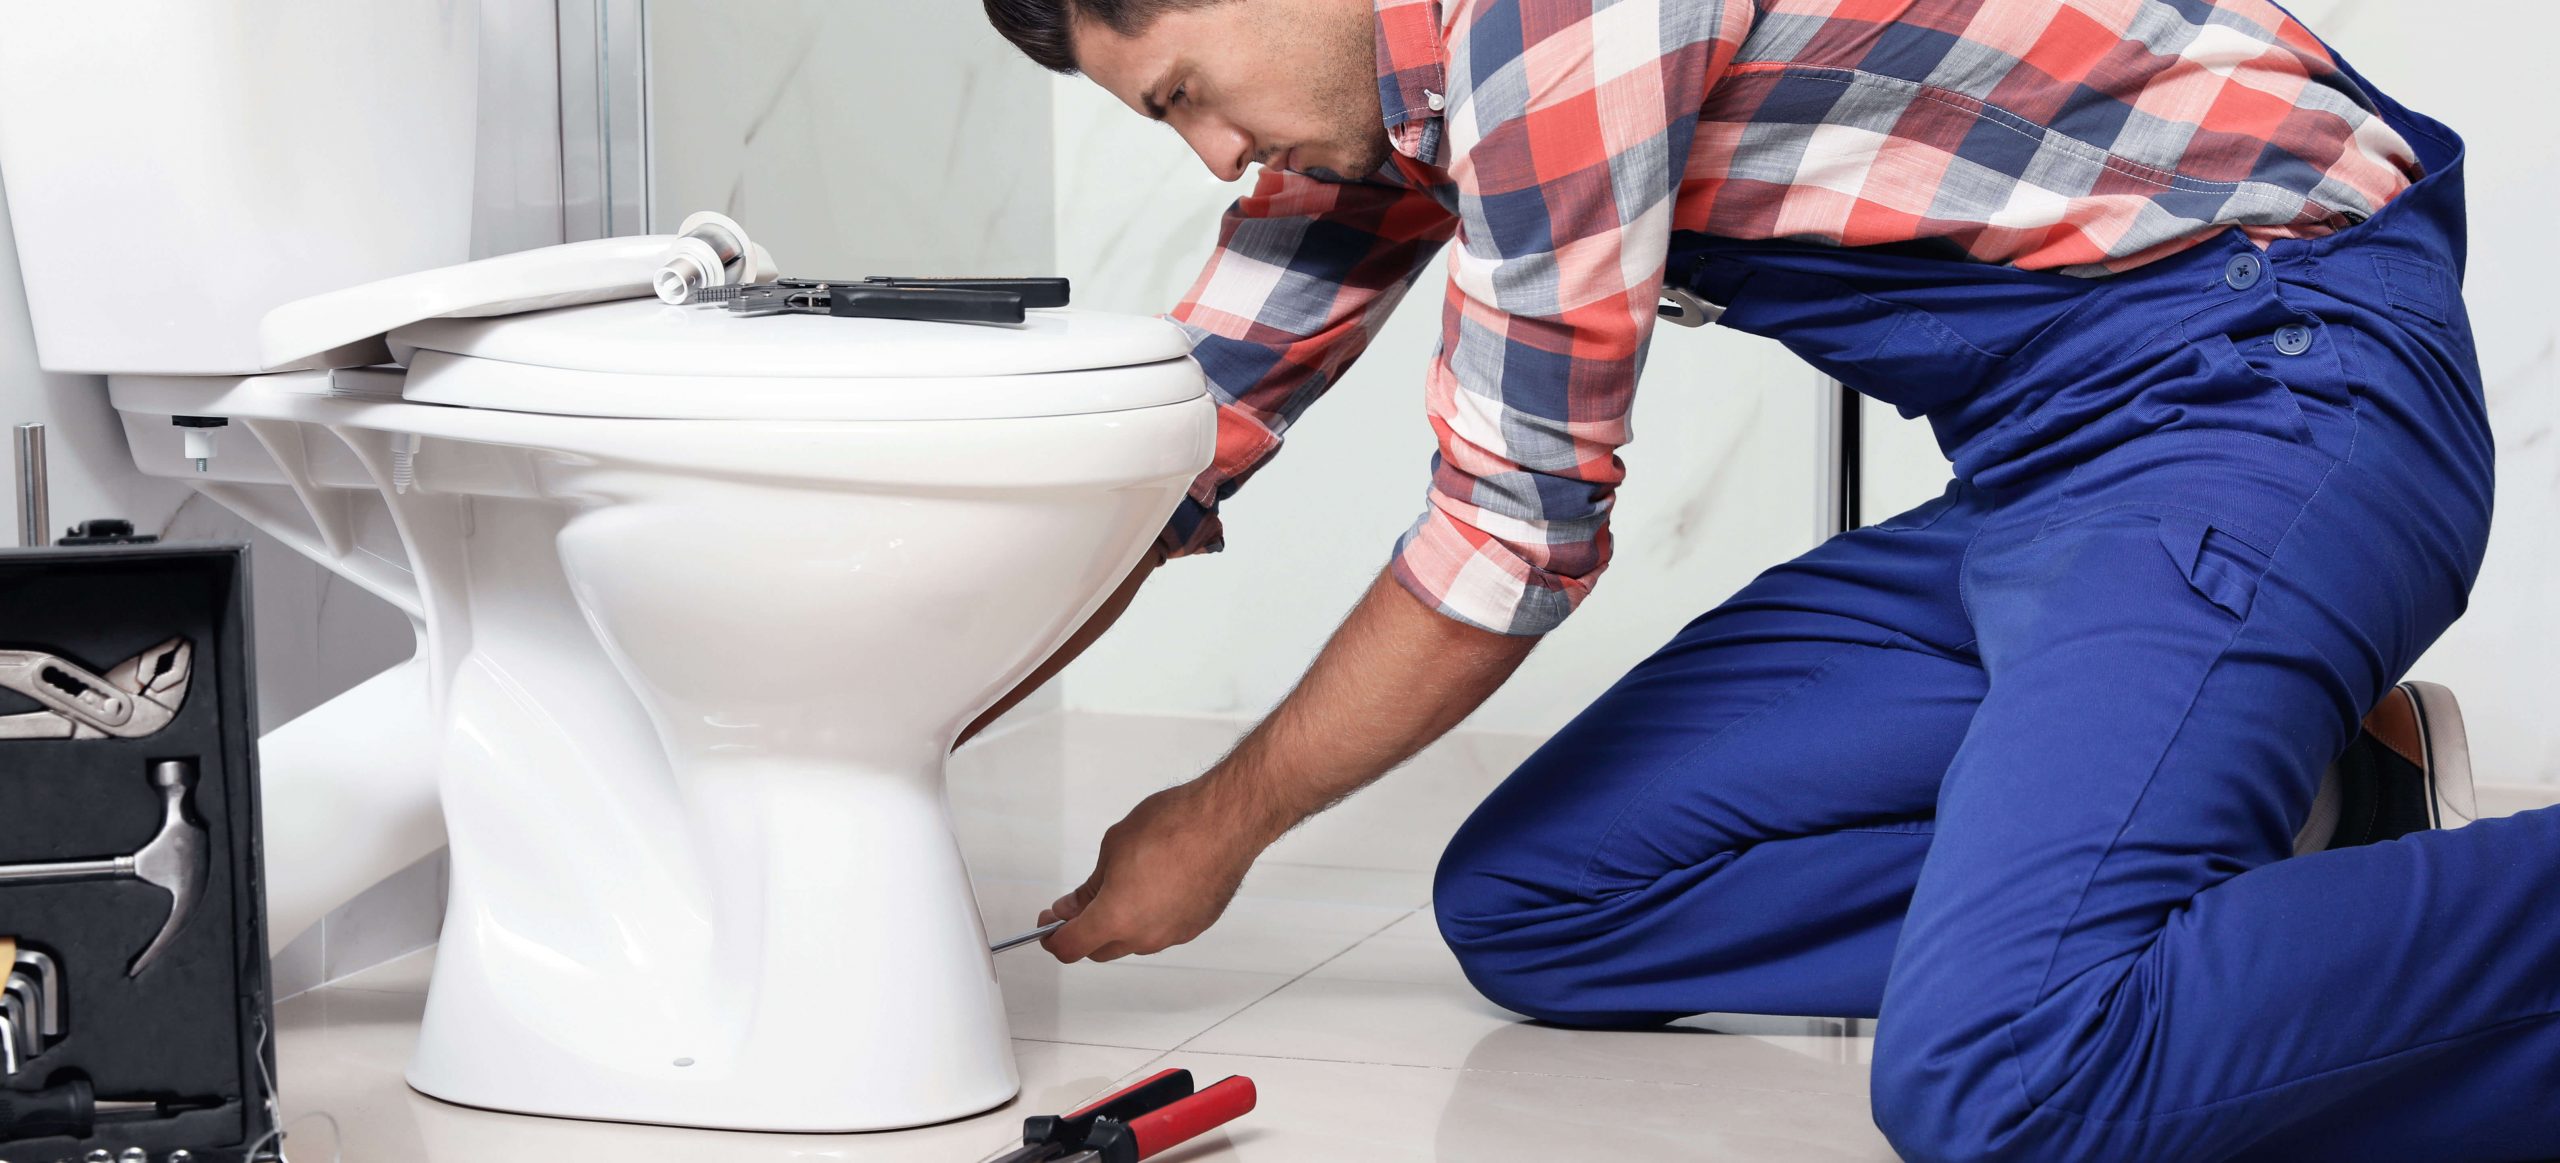
How to Remove a Toilet
In your endeavours of installing a new toilet, the first step is to remove the old one. You will need to remove the old toilet and disconnect it from its pipes and fittings. So, how do you disconnect the toilet? In this section, we’ll answer that question.
All things being considered, the time it takes to remove a toilet varies from 15 to 30 minutes, depending on the condition of the toilet parts and fittings. Below are the steps you’ll need to follow to completely remove your old toilet from the floor and sewer pipe. However, if you still feel unsure, you can always consult the professional plumbers, who will be more than happy to help you.
- Step 1. Turn Off the Water Valve and Drain the Toilet – As a starting point, put on your rubber gloves and get ready to begin. Firstly, you need to turn off the water valve and drain the toilet cistern. To do the latter, you’ll need to flush the toilet so that the cistern is empty. There might still be some water left in it, though, so remove the cistern lid and use sponges, cloths or towels to absorb the remaining moisture and water left in it. Once ready, you can proceed to the next step.
- Step 2. Disconnect the Water Supply – Since you need to work in a water-free environment, make sure to disconnect the water supply. Locate the supply valve in your home and switch it off for the temporary period of the toilet removal and installation process.
- Step 3. Remove the Toilet Cistern – The toilet cistern is the tank that contains the water which is used for flushing. You need to remove it before you proceed to separate the rest of the toilet body. However, this step doesn’t apply to one-piece toilets, where the cistern is physically attached to the toilet itself. It’s therefore important that you’re aware of your toilet and cistern type so that you can take the best steps for removing it and installing the new one. Start off by removing the cistern lid, which should simply come off when lifted. It’s not usually attached to the cistern in any restrictive manner unless the toilet is fitted with a flush down button rather than a lever. From there, you need to use your screwdriver to unscrew the bolts at the base of the cistern. If you find that your flushing mechanism is faulty, replacing your flush button is a whole other topic to delve into. Once you’ve unscrewed them successfully, you can proceed to the next step. However, if it’s hard to remove the bolts because they are rusty, old, or screwed on too tightly, use a pair of pliers or a wrench to help you.
- Step 4. Unscrew the Mounting Nuts – The mounting nuts on your toilet are the fixtures that hold the toilet to your floor in place. You will want to remove these, but if it’s problematic due to the nuts being rusty or old, as mentioned in the previous step, try to use a screwdriver or wrench to help you loosen and unscrew them. This may require some effort on your part as they may have been screwed on years ago and are, therefore, hard to lift out of place.
- Step 5. Cut Through the Caulk and Pull the Toilet Up – Plumbers attach most toilet bases to the bathroom floor using caulk or silicone. You may therefore use your putty knife or utility knife to scrape this material off from the base of the toilet. When you’ve done this, use an old towel or a rag to wipe the base of the toilet clean. Since you’ve unscrewed the mounting nuts in the previous step, and you’ve cleaned and cut through the caulk, you’re ready to pull the old toilet up. Lift it up, but be careful, as the toilet body can weigh quite a bit.
- Step 6. Remove the Old Wax Ring – Before completely lifting the toilet body up to remove it, you must disconnect it from the sewer pipe. You’ll be able to do this by removing the old wax ring, which connects the toilet to the sewer pipe and your drainage system. Use a putty knife or utility knife as this is a rather sticky substance and needs to be scraped off effectively and completely. This wax ring prevents any leakages from the toilet, so it’s a good insulating medium.
- Step 7. Check the Flange and Your Bowl Bolts – The flange of the toilet acts as a stabilising floor mount. Typically made from a PVC, copper, steel or brass, it is also paired with a metal or plastic ring that bolts it to the floor. It is sealed to the drain of the toilet to prevent leakages using a wax ring.
Once you’ve identified the flange, you can unscrew it so that all the components of the toilet, which were connected to piping or the floor have been disconnected. You’ve successfully removed and disconnected your old toilet!
How to Fit a Toilet
The time frame for fitting a toilet varies from one to four hours, depending on your level of DIY experience. Any new toilet installation requires prior preparation and, essentially, working backwards from removing an old toilet.
So, if you’re wondering how to install a new toilet, keep reading below for some easy-to-follow steps.
- Step 1. Install the New Mounting Bolts and Wax Ring – Remember that your water supply should still be switched off while you work so that you avoid any drips and leaks, making a mess. Now you’re ready to install your new toilet, which should come equipped with new mounting bolts. You need to secure these to the floor where the old holes are. You must also install the new wax ring on the sewer pipe so that you avoid water leaks. But be careful because it is rather sticky!
- Step 2. Fit the Toilet and Tighten the Nuts – Take the body of your new toilet and slowly and gently hover it over the bolts, making sure that they align with the holes. Once the bolts have protruded through the holes, you need to tighten them with the nuts. Your new toilet is now securely connected to the floor and sewer pipe, leading us to the next step.
- Step 3. Install Your New Cistern – It’s now time to install your new cistern. However, keep in mind that this step doesn’t apply to one-piece toilets, where the cistern is attached to the toilet itself. Pick up the cistern and attach it to the toilet body using the equipment and tools mentioned above.
- Step 4. Connect The Water Supply – You have now secured your toilet in place and are ready to turn on the water supply. Do so, keeping in mind that there may be leaks.
- Step 5. Turn On the Water and Check for Leaks – It’s critical to ensure that all your handiwork doesn’t go to waste. That’s why you better check for drips and leaks. Flush the toilet several times to ensure that no water is leaking onto the bathroom floor.
How Long Does it Take to Replace a Toilet?
On average, a toilet replacement takes 1 to 3 hours for a professional plumber. A straightforward swap – removing the old toilet and fitting a new one onto existing plumbing, usually falls closer to the one-hour mark. However, the timeframe can increase if complications arise. For example, repairing a damaged flange, reseating the wax ring, adjusting pipework, or dealing with stubborn bolts can extend the job to several hours. DIY installations may also take longer, especially for those unfamiliar with plumbing tools and processes.
In essence, that depends on your skill level and experience, plus the type of toilet you have. If you’ve done this before, it should be a piece of cake. However, if it’s your first time, and depending on the complexity of the job, it could take anything from one to four hours on average.
Can I Change My Toilet Myself?
Yes, a confident DIYer can change a toilet, provided they have the right tools (wrenches, sealant, new bolts, and a replacement wax ring). Many manufacturers provide fitting instructions, making basic toilet replacement possible without professional help.
However, mistakes can be costly. An incorrectly fitted toilet may leak, damage floors, or cause hidden water damage. If you’re unsure, it’s often cheaper in the long run to hire a professional plumber than to fix DIY mistakes later.
How Much Does It Cost to Take Out a Toilet and Install a New One?
The cost of toilet replacement varies depending on location, the complexity of the job, and whether flooring or plumbing modifications are needed. On average in the UK:
Basic toilet removal and replacement: £100 – £250
More complex jobs (floor repairs, pipe adjustments): £250 – £500+
DIY toilet replacement can save money, but you’ll still need to budget for the new toilet (£100 – £400 for standard models, more for luxury or dual-flush toilets) and necessary fittings.
Is It Better to Repair or Replace an Old Toilet?
Deciding between repair and replacement depends on the condition of the toilet:
- Repair is best if the issue is minor, such as replacing a flush valve, fixing a leaking cistern, or changing a toilet seat.
- Replacement is better if the toilet bowl is cracked, the toilet is frequently clogging, or repairs are becoming more frequent and costly.
In many cases, upgrading to a modern, dual-flush or water-efficient toilet can save money on water bills while reducing the risk of future breakdowns.
Takeaways
Replacing a toilet doesn’t need to be stressful. For minor swaps, a skilled DIY-er can manage, but for guaranteed results, hiring a professional toilet fitting service ensures safety, compliance, and long-term reliability. Whether you’re upgrading for style, fixing leaks, or remodelling your bathroom, understanding the costs, tools, and process will help you make the best choice between repairing or replacing your old toilet.
However, if you feel uncomfortable or not ready to embark on this task yourself, you can always consult with tradesmen. The important thing to keep in mind going forward is to always ensure that your water supply is turned off before you start on your toilet removal and installation task. This will not only help you prevent a big mess but will also enable you to carry out the job more effectively.
How to Replace a Toilet Step by Step
Need help? Hire the London Property Service experts today by giving us a call on 020 3078 5920.