Radiator Leak Repair: How to Fix a Leaking Radiator Safely and Effectively
A leaking radiator can cause serious disruption, water damage, and heating inefficiency in your home or vehicle. Whether it’s a central heating radiator leaking from the valve or a car radiator fluid leak, prompt attention is vital. This guide will walk you through the most common causes, how to identify the source of the leak, and the most effective radiator leak repair solutions – from DIY methods to hiring a professional radiator repair technician.
Why Is My Radiator Leaking Water?
Radiator leaks are often caused by:
- Corrosion or rust build-up over time
- Loose or damaged radiator valves
- Cracks in the radiator body or pipework
- Worn seals or washers
- High boiler pressure or trapped air
Identifying the root cause of water damage and heating failures early is key to preventing further damage.
Signs of a Radiator Leak in the Home
Look out for these signs of home radiator leak:
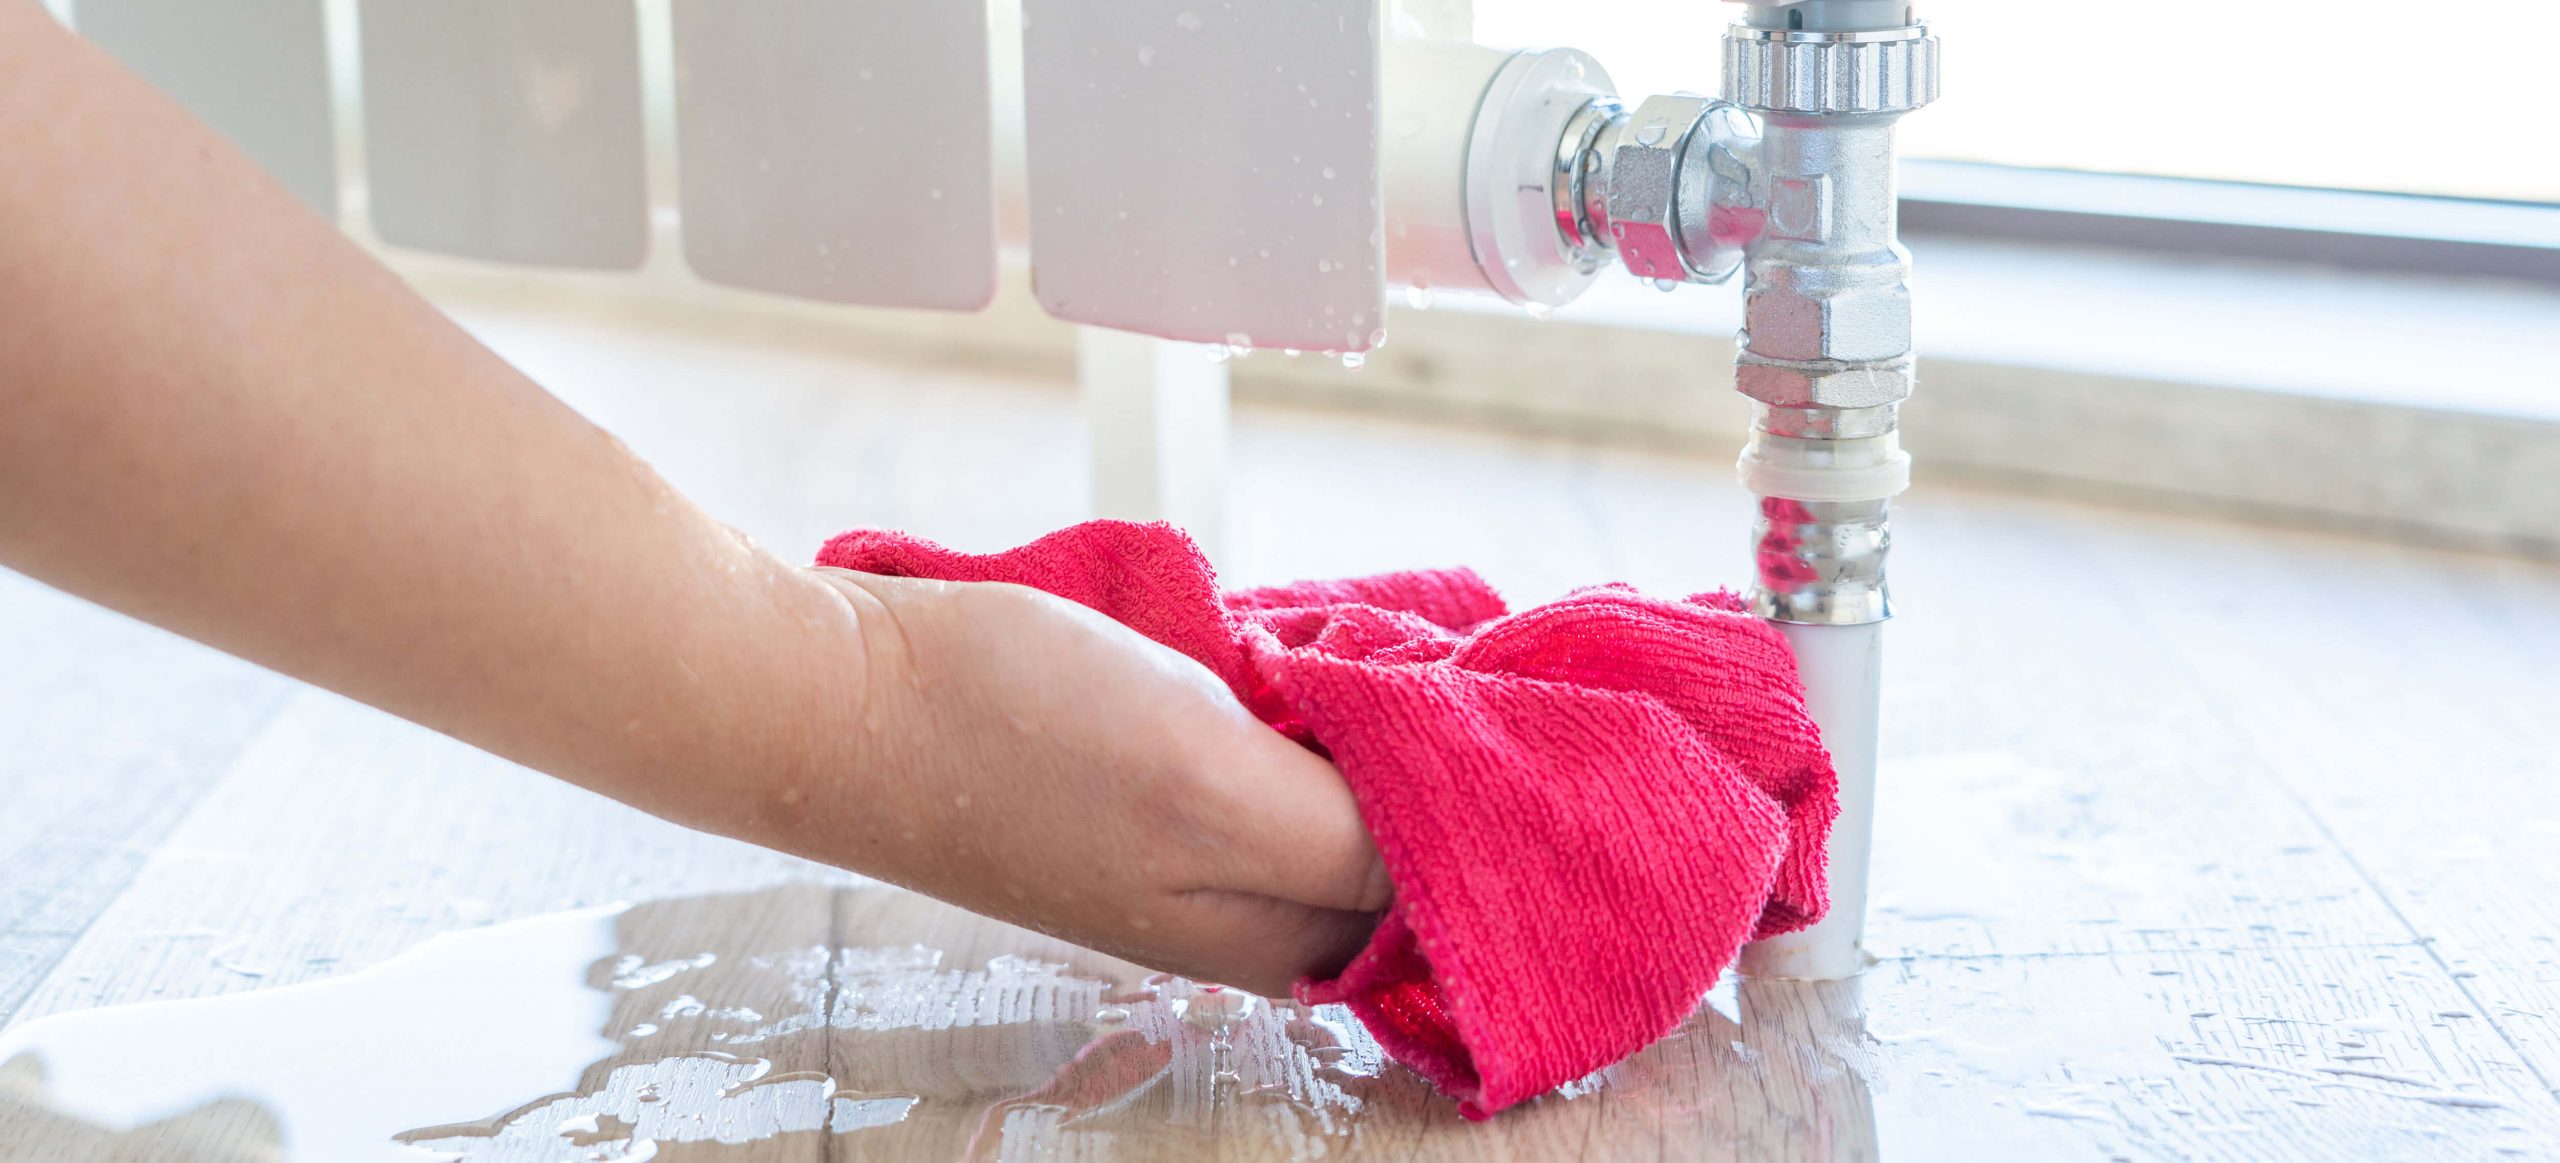
- Water pooling beneath the radiator
- Leaking radiator pipe under floor
- Rust marks or damp spots on nearby walls
- Unusual boiler pressure drops
- Cold patches on the radiator
- A dripping sound when the heating is off
If you notice any of these, it’s time to repair your radiator pipe leak or book a radiator inspection.
Why Would a Radiator Suddenly Leak?
A radiator may begin leaking without warning due to:
- Sudden corrosion or internal rusting weakening the metal
- Loose valve or connector after recent bleeding or adjustments
- Pressure surges in the heating system causing stress fractures
- Faulty installation or poor-quality components
Regular maintenance can prevent these issues. If your radiator suddenly leaks, isolate the heating system and inspect the source promptly to avoid further damage.
Here’s How to Fix a Leaking Radiator
It’s time to repair your leaking radiator now that you know where the leak is coming from. So, roll up your sleeves for some DIY maintenance work and be ready to get your hands dirty. We’ll discuss some parts of your radiator that can leak, shed some light on why this happens, and give you an idea on how to fix it.
How to fix a leaking radiator valve
The valve leaking in a ‘mid-open” position typically happens because the spindle packing, found inside, wears out with time or gets damaged for some reason. Fret not, though, because one of the simplest things to put right is undoubtedly a radiator valve leak.
In this scenario, the leak usually ceases when you close your valve entirely, and that would give you some time to replace it by yourself or call an expert to help you out. If it doesn’t stop, though, then take these steps:
- Step 1. Discharge any water. To patch your leaking valve, first, you’ll need to drain the water out of your unit to a point below the leak. That way, you’ll prevent more water from escaping your radiator.
- Step 2. Cut the water supply. Turn your water supply valve off to stop your radiator from filling while you work on it.
- Step 3. Turn your lockshield valve. The lockshield valve’s purpose is to balance your radiators within the entire heating system of your home. It’s located at the other end of your radiator and usually has a white plastic top. Turn the lockshield valve, but note how many turns it takes to close it altogether, as you’ll need to adjust it back the same way once you’re done. And if by any chance your valve has a screw on the top, use a screwdriver to loosen it, until you feel that you can freely turn the device.
- Step 4. Prepare the area. To stop any additional leaks during the repair, make sure you have the towels and bucket ready. Also, grab an adjustable spanner and brace for the upcoming task.
- Step 5. Untighten the union nut. Carefully undo the union nut that attaches the radiator and the supply pipe, using the adjustable spanner that you have prepared. And if it’s tough to budge, make sure you use grips on the valve itself to stop it from moving.
- Step 6. Bleed your radiators. To prevent injuries by scalding water, first, turn off the heating system and let it cool for a while. Allow the rest of the water to leave the appliance by opening the bleed valve, the one on the top right of your radiator. Don’t forget to place the bucket below the device, so you won’t have to deal with a brand new puddle of water. You can bleed the valve with a bleed key, but if you don’t have it, keep calm and use a screwdriver to loosen the pluck.
- Step 7. Wrap some PTFE tape or also known as “plumber’s tape” 10 to 20 times around the valve tail, at the male end of the fixture. That way you will seal the leak and hopefully patch it until you buy a replacement valve.
- Step 7. Tighten the union nut and start your water. Re-tighten the union nut and open the water supply valve to fill the heater.
- Step 8. Open the lockshield valve and test. Remember the lockshield valve? What about the number of times you’ve turned it? Well, it’s time to open it to the point it was before. When done, check how the radiator operates and see if the leak persists.
Hopefully, that works, but you may have to replace the radiator valve if it doesn’t.
How to change your radiator valve
As people say, better be safe than sorry, so you might want to replace the valve entirely to avoid a leak from reoccurring. Although, when buying the new valve, make sure to get the same type as the old one, as it has to fit perfectly to the water pipe.
Replacing the valve may seem like a daunting task, so you might want to consider calling a professional to carry it out for you. Otherwise, if you feel like a DIY enthusiast, you can quickly learn how to change a radiator valve.
Radiator leaking from couplings and pipes
You may also find that the leak is in the pipes and couplings of the radiator. If you spot one, before attempting to fix it, you’ll have to turn the appliance off and allow it to cool for a bit. That way, you can work more safely, and you won’t have much trouble untightening the fixtures, as they’ll shrink when the heat reduces.
A leaking radiator valve spindle
The spindle is a small fixture, part of your radiator valve; it connects the pipework and the appliance, and when damaged, it may be the fundamental cause of a leak. Fortunately, you can efficiently deal with that issue, so follow those steps:
- First, carefully remove the plastic valve cap of your valve.
- Try to tighten up your gland nut with an adjustable spanner. You can find it right below the spindle.
- See if the leak still occurs and if it does, loosen the gland nut instead.
- Wrap a fair amount of PTFE tape around the spindle and try to push the tape into the body of the coupling.
- Tighten the gland nut once again and test the radiator.
Yey, if this doesn’t solve your problem, consider changing your valve with a new one.
A leak from the gland nut
Sometimes, you can patch a radiator leak by merely re-tightening the radiator valve gland nut. But if that fails, you’ll most likely need to replace the olive within the coupling.
- Before you begin, turn your heating system off and cut your water supply.
- Next, unfasten the nut that connects your radiator and the leaking pipe, but make sure to have towels and a bucket ready, as you’ll have to collect some water.
- Then completely remove the nut and its fitting from the tubing.
- Now try to detach the uncovered olive and prepare the new one for fitting.
- Wrap it with a bit of PTFE tape before reconnecting.it back in place.
Pro tip: We recommend changing the entire radiator valve for your peace of mind.
A leaking pipe joint
Leaks may take place when the pipe joints loosen or get worn out. Although, you’ll have a set of those joints that link the pipes to your radiator only if you have a compression heating system.
See if you can tighten up those fixtures with an adjustable spanner. Usually, that stops the leak, but if it doesn’t, check out this quick solution:
- Turn off your heating system and cut the water supply to your radiator.
- Drain the water out of your appliance to a point below the source of the leak.
- Untighten the joint nut with an adjustable spanner and try to detach the leaking pipe.
- Wrap around 20 cm of PTFE tape around the area where the face of the olive crosses the joint.
- Tighten the nut again, but don’t overdo it, as you may damage your couplings.
How to fix a pinhole leak in a central heating radiator
Corrosion is a bad sign for all types of appliances. In fact, that’s one of the main reasons for a radiator body leak, or in short a “pinhole leak”. Unfortunately, we have some bad news.
Corrosion triggers this sort of leak because sizable black sludge deposit causes the rust spots within the body of your appliance. Your best bet in this situation is to change your radiator completely; however, if you aren’t using a sealed central heating system, then we might have a quick solution.
- Before you do anything, make sure that you have a feed and expansion tank, and not a sealed system. Consult with a Corgi registered plumber near you if you have any questions regarding the type of your system.
- To stop the leak, cautiously apply a plastic resin sealant.
- Start looking for a new radiator, because that fix might not last for as long as you wish.
And if your radiator is still leaking?
Despite any temporary solutions you might try, your radiator may be corroding, or a persistent leak can still occur. If that happens, you will have to consider getting your unit checked and even replaced. But to remove a radiator is easier said than done, not to mention the process of installing a brand new appliance.
We’d recommend that you call a professional heating engineer for your radiator installation, as they guarantee for a service well-done, with no mess left behind.
What Happens If You Don’t Fix a Leaking Radiator?
Failing to address a leaking radiator can result in:
- Progressive water damage to floors, carpets, or subflooring
- Boiler pressure loss, reducing heating efficiency
- Rust and corrosion spreading internally, leading to more leaks
- Higher energy bills due to system inefficiency
- Increased risk of full radiator failure or burst
Ignoring a leak can transform a minor repair into a costly replacement. Always act early to stop radiator leaks and protect your central heating system. Getting a radiator repair quote online or booking a local radiator technician can save time and protect your property from long-term damage.
How to Prevent Radiator Leaks
Whether you have your old radiator repaired, or you’ve bought a new sparkling appliance, the thought of another leak is unnerving. To avoid such disasters from reoccurring again, use a rust and corrosion inhibitor and a radiator cleaner regularly.
Don’t forget to investigate any signs of failure in the pipe connections and fixtures that link the radiator to your central heating system. Early detection of issues will help you avoid more costly repairs.
Key Takeaways
It is an irritating issue to find water leaking from your radiator, but it’s easier to repair it than you possibly thought. A defective radiator valve can often be the culprit, but make sure to check out the radiator’s couplings and small fixtures. And if luck isn’t on your hand, it’s more probable that you’re dealing with a pinhole leak due to corrosion.
Think of the cost and time before doing any DIY repairs or installation, as a competent heating service may be a safer option.
Radiator Leak Repair: How to Fix a Leaking Radiator Safely and Effectively
Need help? Hire the London Property Service experts today by giving us a call on 020 3078 5920.