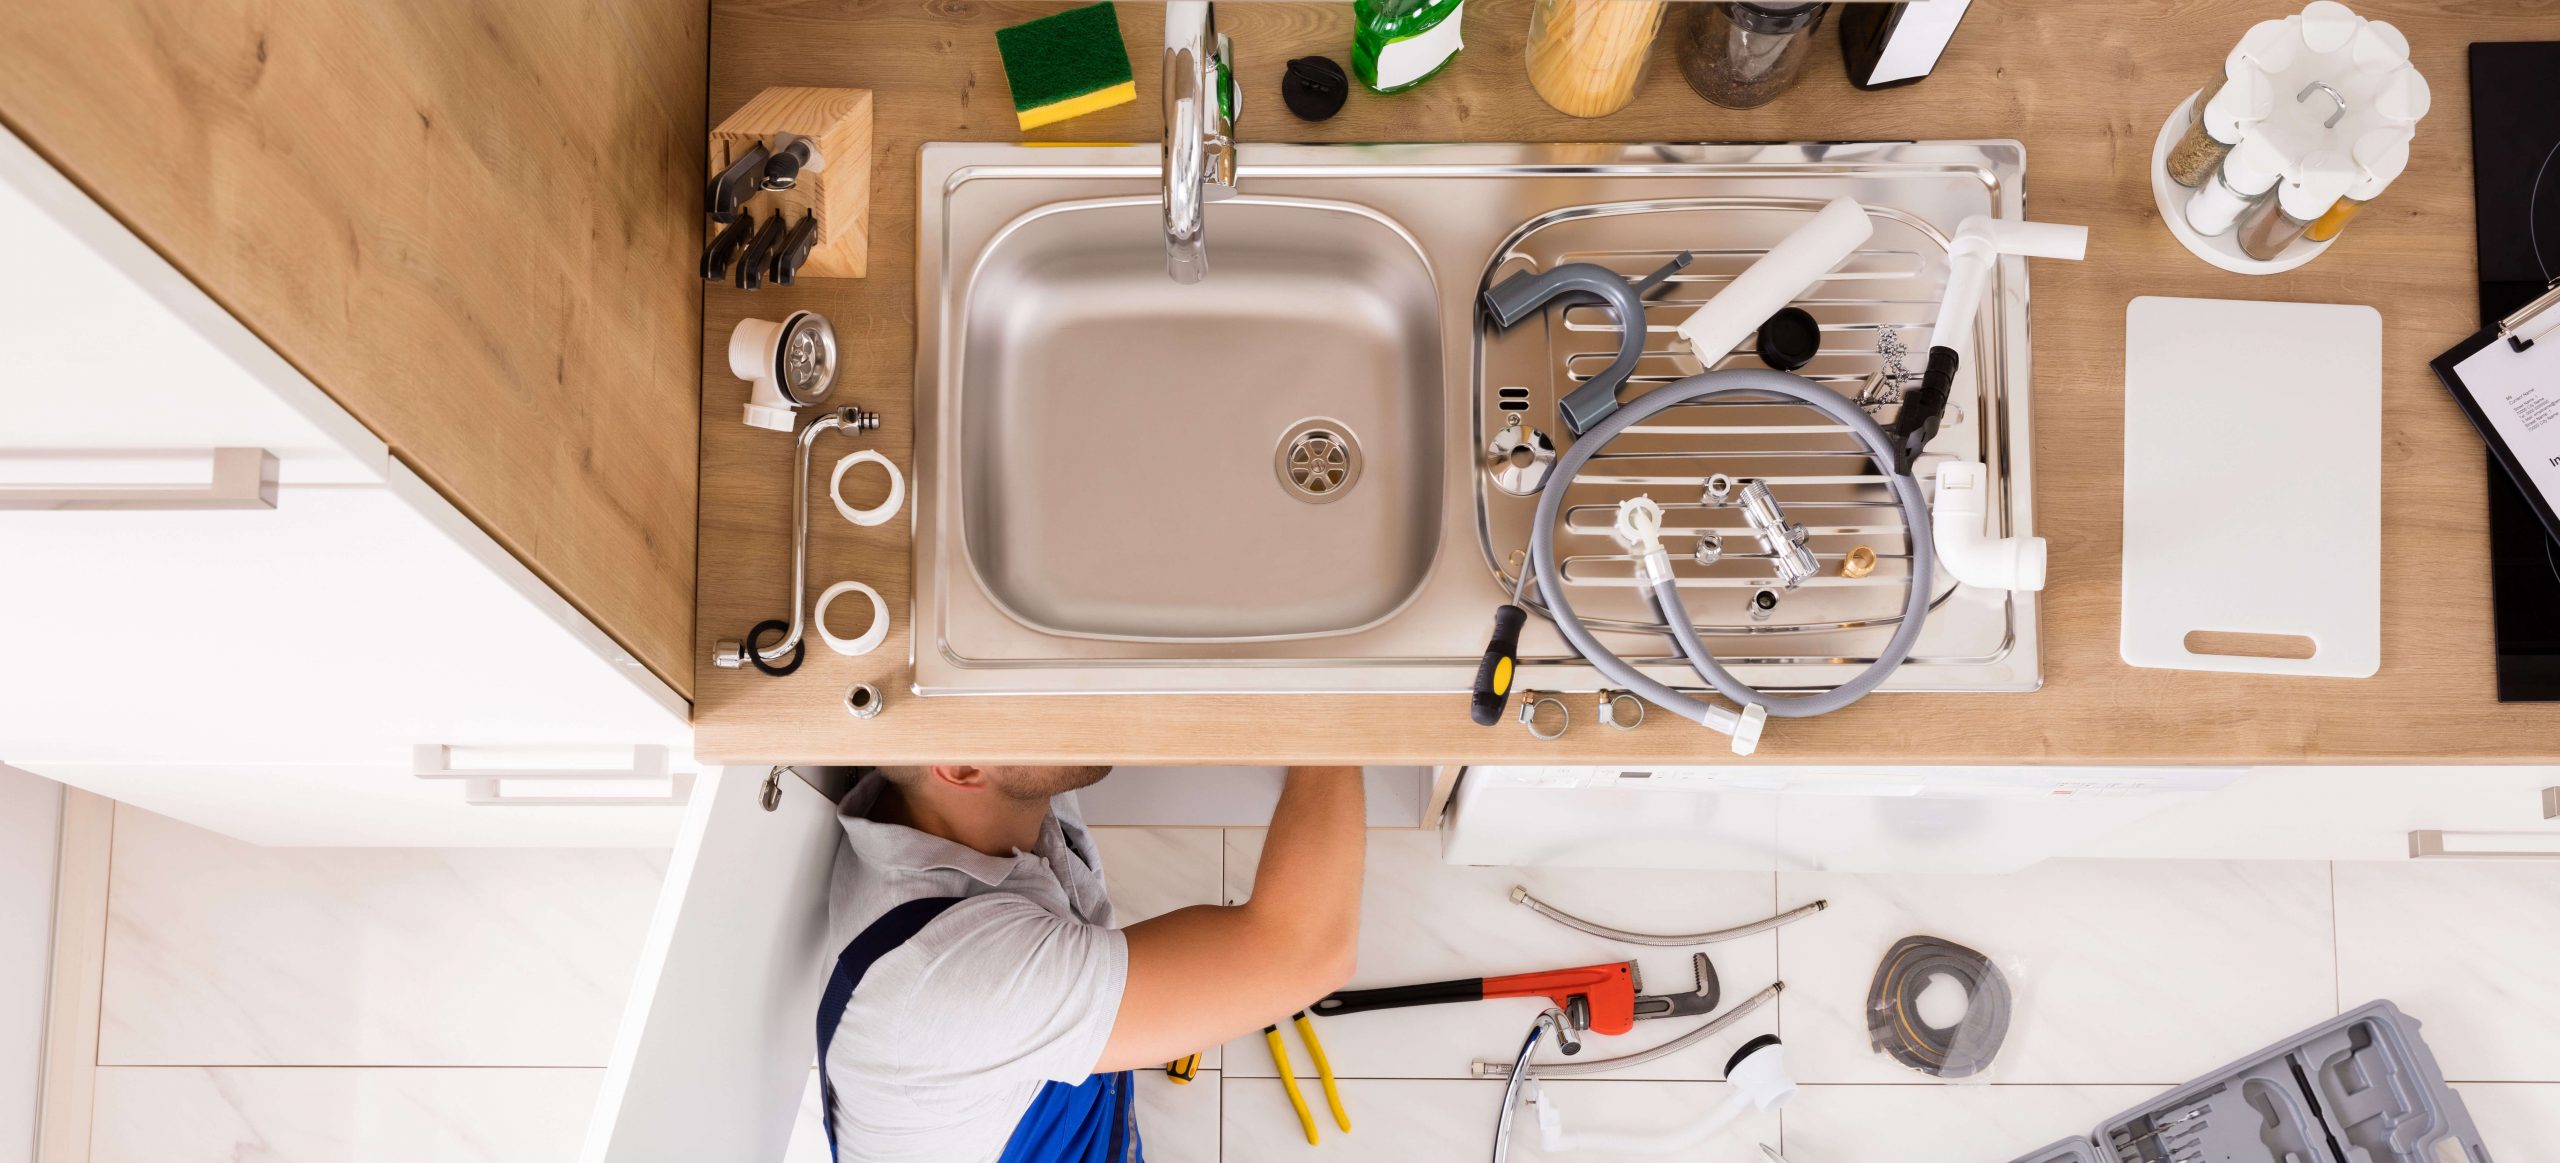
If you’re not confident in tackling a kitchen sink replacement yourself, calling a professional plumber is the safest and most efficient choice. A qualified plumber ensures that your new sink is installed correctly, with all plumbing connections secure and leak-free, saving you time, stress, and potential costly mistakes. Whether it’s a simple drop-in sink or a more complex undermount or double-bowl installation, professional expertise guarantees a flawless finish and peace of mind. Don’t risk damage to your countertop or plumbing—hire an experienced plumber to handle your kitchen sink fitting.
How to Replace a Kitchen Sink – Fitting Instructions
Replacing a kitchen sink can transform the look and functionality of your kitchen. Whether you’re renovating, upgrading to a modern sink, or dealing with damage, this guide covers every step from preparation to installation.
There are sinks of all shapes, sizes and materials, some of which are trickier to work with than others. In this guide, we will tell you how to replace a kitchen sink.
We’ve included the tasks of removing an old sink, cutting the counter for a new sink, changing pipes and fitting a kitchen sink for the first time.
Table of Contents
Assess Your Kitchen and Sink Needs
Before purchasing a new sink, evaluate your kitchen requirements:
- Sink type: Consider single, double, undermount, or drop-in sinks.
- Material: Stainless steel, composite, ceramic, or fireclay. Stainless steel is durable and popular for replacement.
- Size and fit: Measure the current sink and countertop cutout carefully.
- Faucet compatibility: Ensure the new sink accommodates your existing or planned tap.
Sink Installation Tools Needed
For a smooth replacement, prepare all necessary tools:
- Adjustable wrench and pliers
- Screwdrivers (flathead and Phillips)
- Basin wrench for tight spaces
- Silicone sealant and caulking gun
- Bucket and towels for water spills
- Replacement sink and fittings
- Pipe wrench for plumbing connections
Safety first: turn off the kitchen water supply at the valves under the sink. Open the tap to release remaining water and prevent leaks during removal.
How Long Does it Take to Replace a Kitchen Sink?
On average, for a standard sink sized 80cm x 55cm x 20cm, it can take a professional installer between 1,5h and 2h. There are, however, several factors that come into play with this task at hand. For example, how easily the old sink is removed, how much work they need on the hole, and whether the pipes need to be replaced as well.
How to Remove a Kitchen Sink
The first step to replacing a kitchen sink is to remove the old one. This job needs to be handled gingerly, so you do not damage the countertop or the new sink. If you’re not 100% certain in your DIY plumbing skills, we advise you to get in touch with expert plumbing services professionals and have them change the sink.
Pro tip: Before you disconnect the pipes under the sink, take a photo, so you have it easier when you install the new unit.
Tools and Other Equipment You May Need
- Adjustable wrench
- Pliers
- Screwdriver
- Stanley knife or similar
- A bucket and an old towel
Step 1. Turn off the water and disconnect the supply lines
To remove your sink, first, stop both the cold and hot water supply to the sink. Then use the adjustable wrench to disconnect the supply lines and drain pipe that connects to the house drainage system.
Step 2. Drain the remaining water and place a bucket under your sink
It is possible that some amount of water will be left in the pipes, so drain them well. Place a bucket under the sink and let the water run. When nothing’s left, turn off the tap and remove the bucket.
Step 3. Disconnect your garbage disposal unit and the dishwasher
If you have garbage disposal under the sink and/or a dishwasher, disconnect them, as well. If you have a water filtration system, disconnect it from the tap, too. To do so for either appliance, you may want to check their instructions first.
Pro tip: When you’re disconnecting any type of appliance, keep a bucket and a rag nearby because there may be leaks.
Step 4. Detach the drain pipe and p-trap pipes
If you haven’t done this already, now is the time. Detach the p-trap pipes and drain pipe from underneath the sink. Also, make sure to remove any other kitchen sink parts before proceeding with changing the sink.
Step 5. Unscrew the metal clips and cut the caulk
Next, you have to unscrew the metal clips. They are located underneath the sink for both top and under-mount sinks. After you remove the clips, you need to cut the caulk. The difference between the two types of sinks is caulk’s location. For under-mount sinks, it’s located underneath the sink where the metal clips are, whereas, for top-mounted sinks, it’s on top where the wider part of the sink meets the counter.
Step 6. Remove the old sink and scrape off any caulk
When you’re done cutting the caulk, remove the sink. Then scrape off any remaining caulking and clean the worktop.
How to Fit a Kitchen Sink
Fitting a sink is easy if you’re well prepared and skilled at DIY home projects. And if the task seems too daunting, you could always find a local plumber to help you out.
Luckily for you, this is the part in our detailed guide which explains how to install a kitchen sink step by step. But first, see what tools and equipment you’ll need.
Tools and Other Equipment You May Need
- Pencil
- Power saw
- Jigsaw
- Drill (+10/15mm drill bits)
- Pliers or sandpaper
- Waterproof sealant
- Plumber’s tape
- Screwdriver
- Adjustable wrench
Step 1. Fit your new sink and seal it in place
Turn over the top-mounting sink and apply caulk on the wider part. Then flip the sink and place it carefully in the hole. If there’s excess caulking, remove it.
Fitting an under-mount sink is the same, except that the caulk goes in a different place. With this type of sink, you add the caulk on top of the sink. Spread it evenly around the top and place the sink underneath the countertop. Use something for a base to support the sink while it glues.
Pro tip: We recommend that you use water-resistant silicone caulk for fitting a sink, regardless of the model.
Step 2. Attach the metal sink clips and fit your faucet
When the caulk is set, reattach the metal sink clips you removed from the previous sink. Again, place them underneath the sink and tighten well to fit the sink into place. Once you fit the sink, you may proceed with installing the tap.
Step 3. Seal and fasten the drain strainer
To install your new drain strainer, you may use plumber’s putty. Roll a small amount of it with your fingers to make it more malleable, then spread it evenly around the rim. Place the strainer and fasten the drain into place. If there’s excess putty, scrape it off with a cutting utensil.
Step 4. Reconnect your water supply lines
Reattach the hot and cold water supply lines to the new tap. Use metal connectors over each line and plug the faucet into the connector’s other end. To that, tighten the fastener with a wrench, but be careful not to over-work it.
Step 5. Install your garbage disposal unit and the dishwasher
If you’ve taken our advice and have taken a photo of every pipe before dismounting them, this step should be easy. If not, you can use the garbage disposal and dishwasher manuals to re-install them.
Installing the garbage disposal should be fairly simple. Most units are installed over the bottom of the drain and are held by a fastener. You should attach the dishwasher hose to a small spout on the pipes or the garbage disposal unit. Then hold it in place with a hose clamp.
Step 6. Connect the pipes and check for leaks
If you have installed a garbage disposal, the drainpipe for the sink should go on the side of the unit. If there’s no such unit, then the drainpipe runs from the drain to the main drain line. Connect the drain pipes easily via p-trap pipes. Fasten each pipe, but do not overdo it.
Once you complete this last installation step, turn on the water supply and test your work. Do not forget to place a bucket under the pipes and sink if any leaks occur.
Cutting Your Countertop for the New Kitchen Sink
Step 1. Mark your sink dimensions
First, take the measurements of the bottom of the sink. Mark the proper dimension with a graphite pencil and a ruler. Keep in mind that you shouldn’t take the measurements from the wider top side of the sink. The wider part lays on top of the kitchen counter and is used to glue down the sink.
Step 2. Drill corner holes and cut the countertop
Next, drill four holes at the four corners of your marking. For a round sink, drill the openings at opposite sides of the circle. Make sure the countertop has excellent support and use the jigsaw to cut it, starting from one of the holes you’ve made. You need a good base, so the countertop doesn’t break while trying to make an even cut. If you need any assistance with your kitchen installation projects, don’t hesitate to call a professional.
Step 3. Smooth down the surface
Use pliers or sandpaper to smoothen the cut surface. Do not get too into it because you may curve the cut. Wipe the dust after you’re done so you have a clean working space.
Replacing a Kitchen Sink Drain Pipe
If you have taken our advice on taking a photo of the pipes before dismounting them, replacing drain pipes under the sink will be a piece of cake.
The most common reasons for changing the pipe as well as the sink, are the following:
- the existing drain pipe is too short for the new unit
- or it’s too long for the new sink
- if the pipe is old and dingy
- lastly, if the pipe is broken and replacing it is unavoidable
How to Connect a Kitchen Sink Drain Pipe
- Measure the length from the drain to the new sink, so you know how long you need it to be.
- Buy or cut a pre-bought pipe to the exact measurements.
- Place a washer over the end of the pipe.
- Place slip nuts at both ends of the pipe or on which it’s necessary.
- Put the drainpipe in place and screw the slip nut/s in.
How Much Does it Cost to Install a Kitchen Sink?
Aside from the cost of the sink, there are some things that can determine the installation service cost. For example, our kitchen sink installation service in London, on average, costs about £98 per hour. Often, fitting a sink takes up to two hours when there’s an old sink to be removed first. Also, the price may vary based on time of the day or week the work is carried out. It’s always better to receive a precise quote for the project. You can enjoy discounts and many other benefits when you become a member of the Fantastic Club.
Final Thoughts
How to Replace a Kitchen Sink – Fitting Instructions
Need help? Hire the London Property Service experts today by giving us a call on 020 3078 5920.